
AI Interior Design for Home Offices: Design a Workspace You Love (Without the Guesswork)
Turning a cluttered corner into a workspace you actually enjoy used to mean months of guesswork, paint swatches, and furniture you end up returning. With AI interior design, you upload one photo of your room, pick a style, and see a photorealistic home office in seconds.
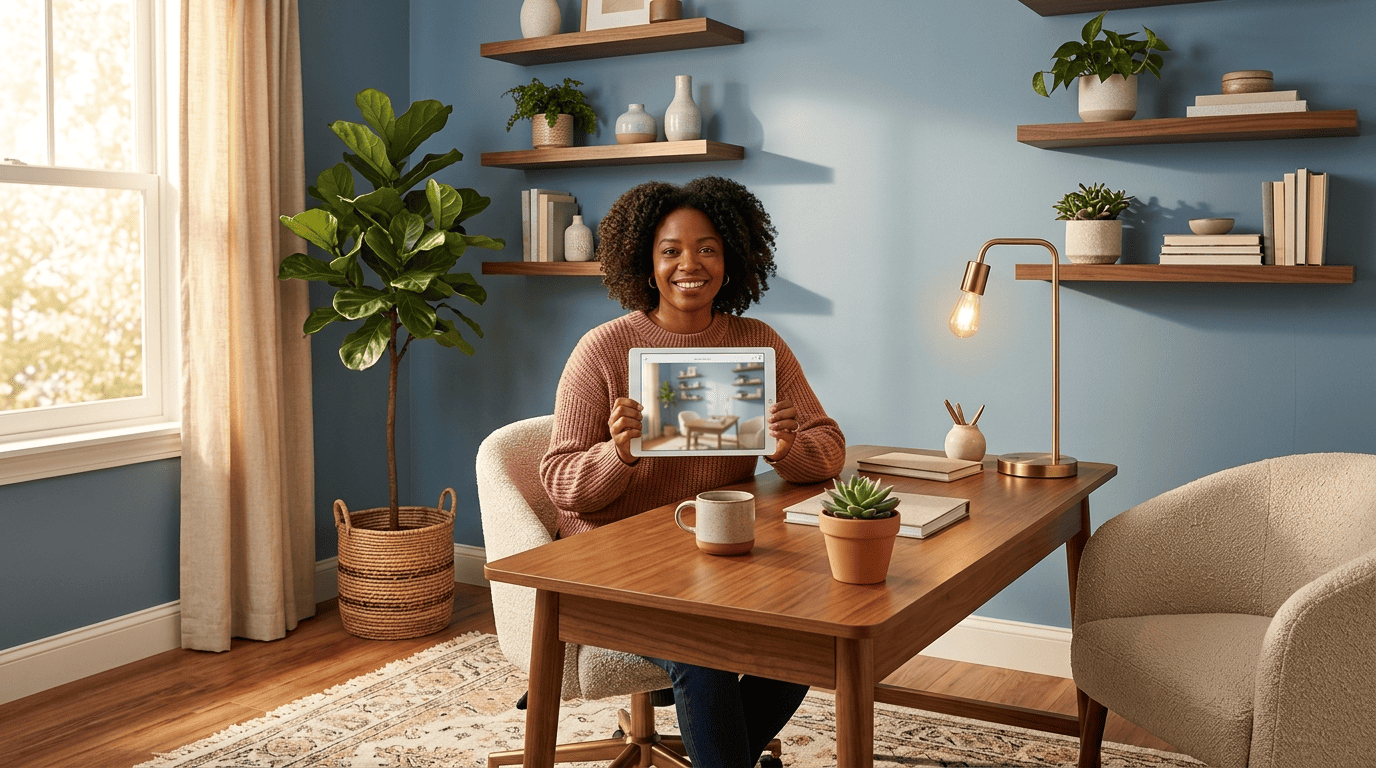
The technology doesn’t replace your taste or your body’s need for a properly set chair, but it does remove the expensive trial and error of testing layouts in real life. This guide walks through the step-by-step process of designing a home office with AI, the ergonomics and lighting rules a generator won’t check for you, and how to pick a tool worth your time.
What AI Interior Design Actually Does for a Home Office
An AI home office design tool doesn’t dream up a room from nothing — it starts with your actual four walls. That distinction matters more than most people expect when the first render comes back looking almost nothing like their space.
From a real photo, not a blank canvas
The key difference from pure image generation is structure-preserving AI: it reads a photo of a real room and keeps the floor, windows, and architecture exactly where they are, changing only the furniture, decor, and color palette. Rendering typically finishes in under a minute, turning a single upload into a usable before-and-after comparison on screen. That constraint — respecting the room’s actual geometry — is what separates a genuine office layout generator from a generic AI art prompt, a distinction closely tied to how interior design has always worked: fitting a scheme to a fixed space, not inventing the space itself.
What it can and can’t decide for you
An AI room design tool is excellent at proposing style directions, color palettes, and furniture placement, but it cannot measure your spine or route a new power outlet. The honest framing: treat the output as a fast visual draft and a source of inspiration, then let a human check the ergonomics, the measurements, and the wiring before anything gets bought.
How to Design Your Home Office With AI: Step by Step
Most home office AI tools compress the process into a handful of steps, and the workflow barely changes between platforms even when the interfaces look different.
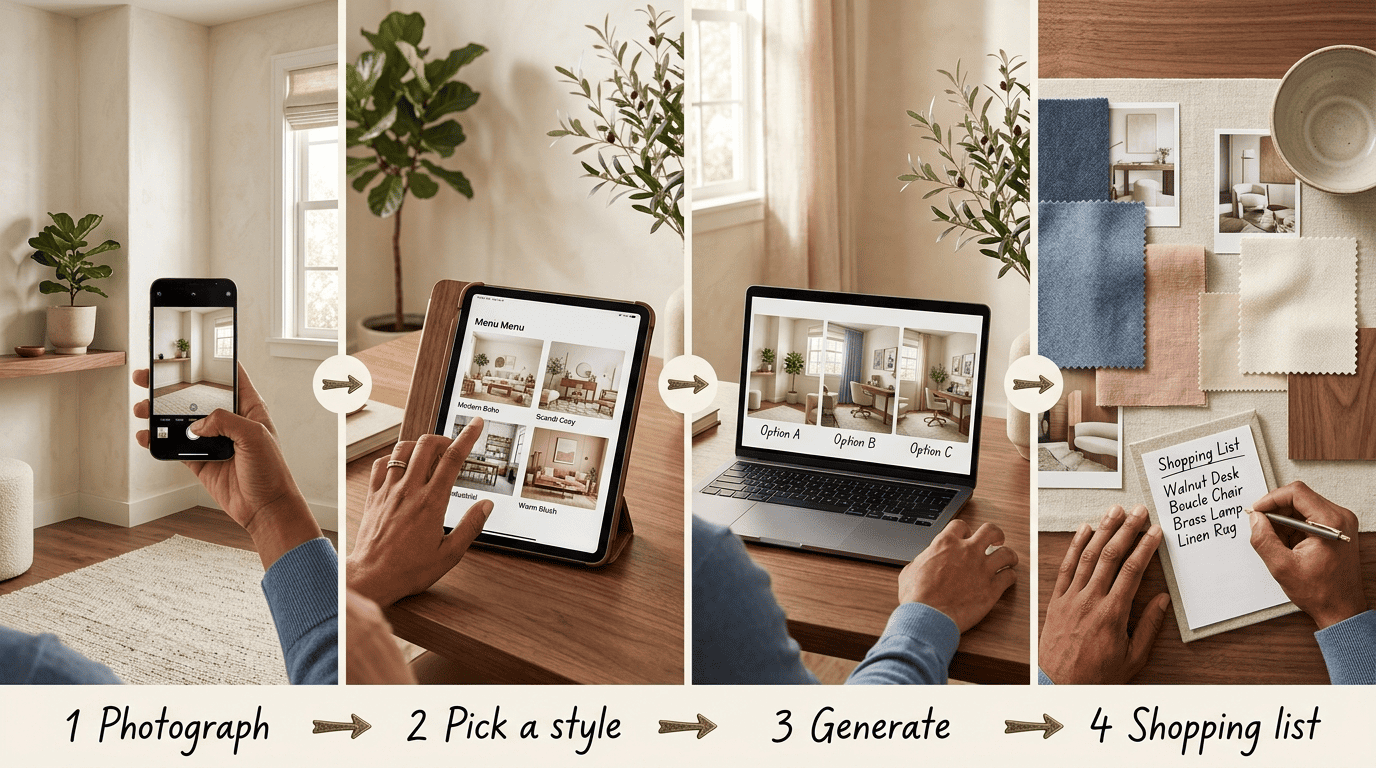
- Photograph the room honestly. Shoot the empty or cluttered space in daylight, from an angle that captures a window and two walls. A clear, well-lit input photo produces a far cleaner render than a dim phone snapshot.
- Pick a style and mood. Choose a preset — Modern, Minimalist, Scandinavian, Japandi, or a warm-professional look. Preset counts vary a lot by platform — some generators offer a dozen or so core styles, others run into the dozens, and a few advertise well over 100. A Creative mode pushes bolder reinterpretations, while a Precise mode stays closer to the original layout.
- Generate, compare, and refine. Produce three or four variations, compare them side by side, then refine specific pieces — swap the desk, add shelving — using object-level editing or inpainting on tools that support it.
- Pull a shopping or moodboard list. Collect the final look into a moodboard and a shopping list; some AI interior design generator tools even offer visual search to find near-matches for items spotted in the render.
Most uploads accept a standard PNG or JPG, with size limits that vary by platform (roughly 3MB to 50MB depending on the tool), so there’s rarely any heavy file prep needed before the first attempt — just check the specific tool’s limit if your photo is a large file.
Getting the Ergonomics Right (What AI Won’t Measure for You)
A beautiful render can still leave you with a sore back six weeks in. Ergonomics is the part of home office design that no image generator checks, because it depends on your body, not your decor.
Desk, chair, monitor height
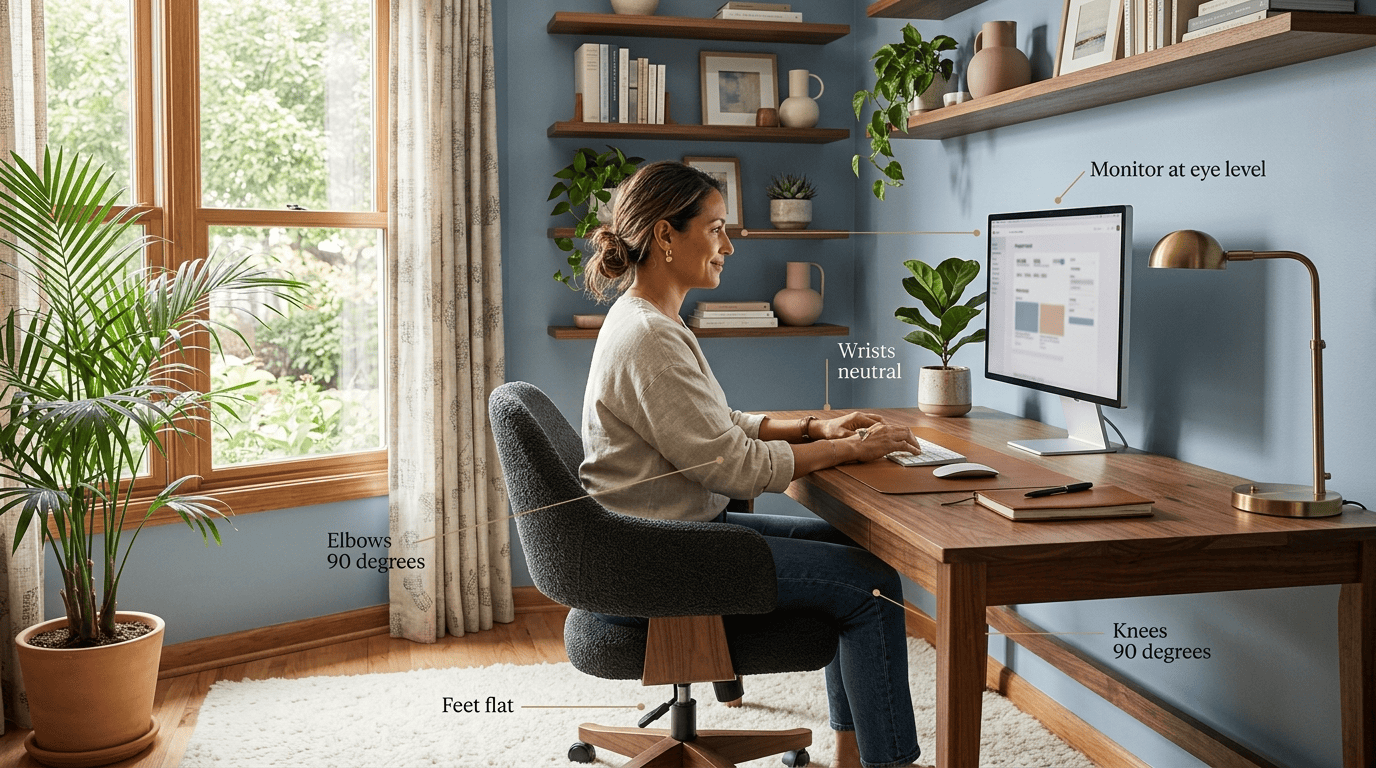
| Body part | Target position |
|---|---|
| Feet | Flat on the floor or a footrest |
| Knees | Roughly 90 degrees |
| Elbows | Close to the body, near 90 degrees |
| Wrists | Neutral, not bent up or down |
| Monitor top | At eye level, an arm’s length away |
Use the AI render to find furniture that fits these measurements — pick the desk and chair to match the checklist, not the other way around. OSHA frames the underlying principle plainly:
Ergonomics — fitting a job to a person — helps lessen muscle fatigue, increases productivity and reduces the number and severity of work-related MSDs.
Occupational Safety and Health Administration (OSHA)
That same principle applies at home: the layout should adapt to your body, and an AI render is only useful once it’s built around those numbers. For a deeper walkthrough of chair and desk adjustments, the Mayo Clinic’s office ergonomics guide is a solid reference point.
Movement and layout
Leave room to stand, stretch, and walk a few steps without rearranging furniture first; a sit-stand option helps even more. An AI-generated layout will show you where the desk and shelving sit, but you still need to walk the room yourself to confirm the paths are clear and the outlets are within reach of the cables you’ll actually use.
Lighting a Home Office for Focus and Video Calls
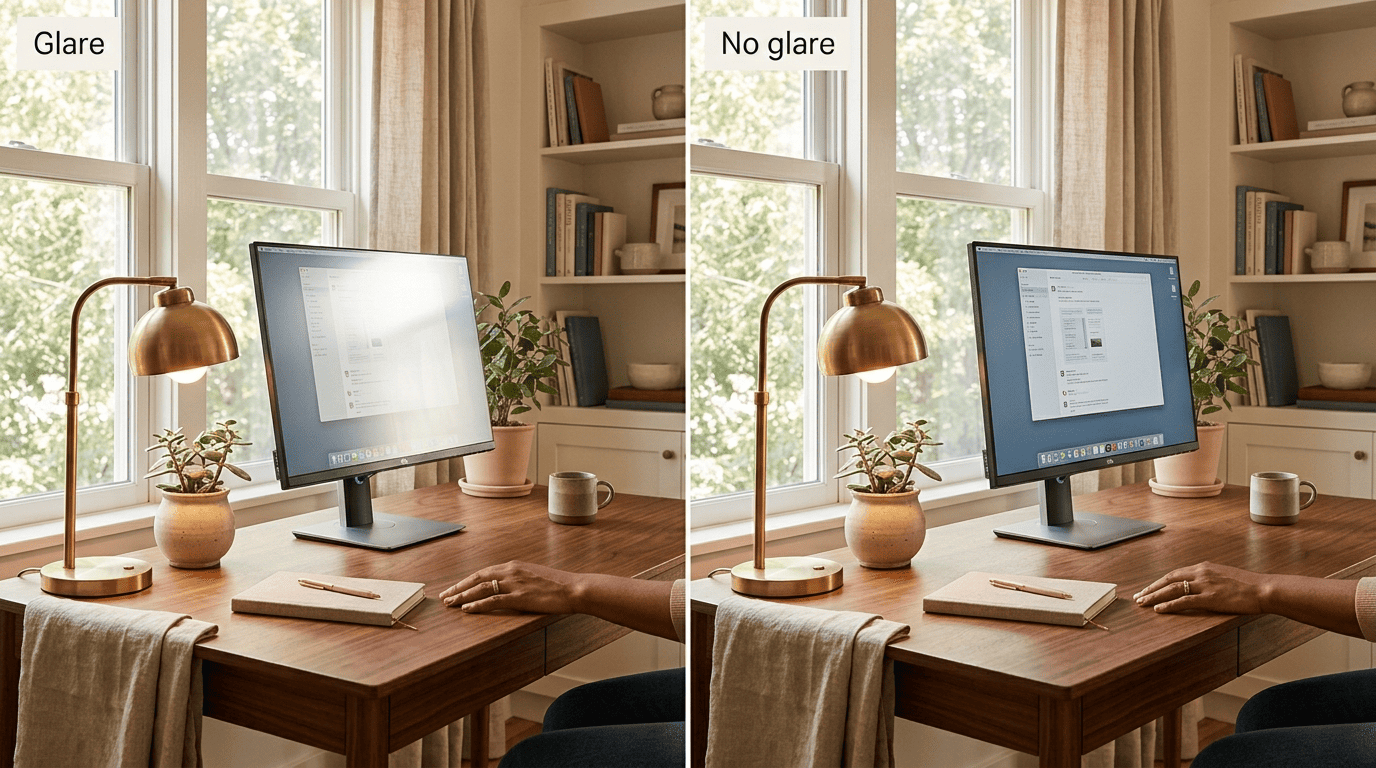
Glare is the single most common lighting mistake in a home office, and it’s also one of the easiest for an AI render to help you avoid before you’ve moved a single lamp. Position the monitor at a right angle to the window rather than facing it or sitting with it behind you — that single adjustment cuts most of the screen glare and the washed-out look on video calls. An AI render helps you preview roughly where daylight will fall in the finished layout.
Layered light beats a single overhead fixture for both focus and calls. Combine three layers instead of relying on one ceiling fixture:
- Ambient light for the overall room
- Task light, such as a desk lamp, for close work
- Accent light for mood and depth
For video calls specifically, add a soft, warm light source in front of your face rather than overhead, since top-down light casts shadows the camera picks up immediately.
Small Spaces, Spare Rooms, and Style Choices
Not everyone gets a dedicated room, and an AI office design tool is arguably most useful exactly when the space is awkward, small, or shared with something else entirely.
Carving an office out of a corner or closet
A few reliable tricks make tight spaces work:
- Vertical shelving instead of floor-standing storage
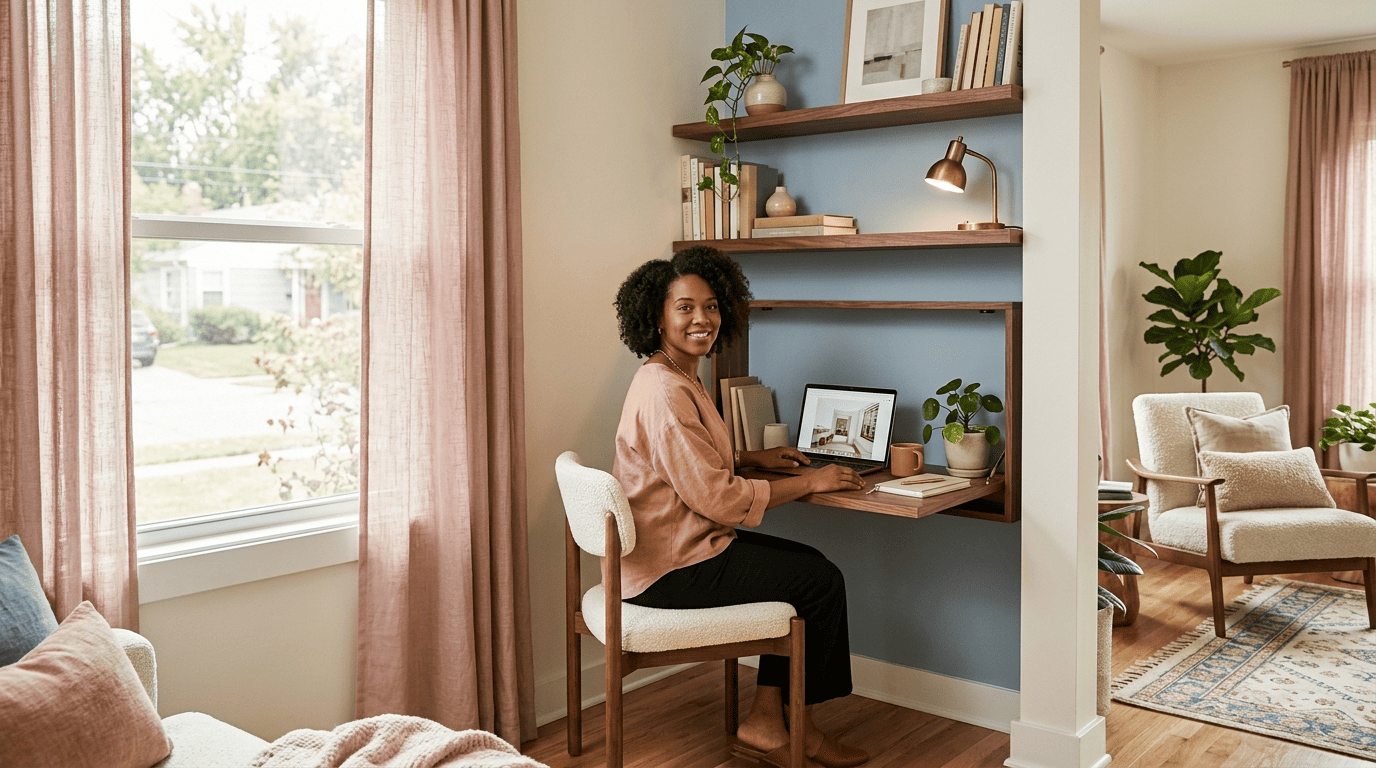
- A fold-down or wall-mounted desk that disappears when not in use
- Color zoning to visually separate the work corner from the rest of the room
- A closet conversion, using the existing shelving as a frame for the desk
An AI room design generator lets you preview how a desk and shelving actually fit into a nook, alcove, or spare bedroom before you buy anything or drill a single hole.
Choosing a style that keeps you productive
Warm neutrals paired with greenery tend to reduce visual fatigue over long work sessions, an idea closely related to biophilic design — bringing natural elements into built spaces to support wellbeing. A leaner, minimalist palette cuts down on visual noise, which matters more in a small office than a large one. Building a moodboard first, before generating full renders, makes it easier to settle on a coherent palette.
Picking the Right AI Tool (and Whether Free Is Enough)
The AI interior design generator space has grown crowded, and the tools genuinely differ in what they preserve, how many styles they offer, and how far the free tier gets you.
What to look for
Before committing to one platform, check for:
- Structure-preserving output that keeps your actual walls, floor, and windows intact
- A meaningful number of style presets, not just three or four
- Photorealistic rendering quality, not an obviously synthetic look
- Object-level editing to swap individual pieces without regenerating the whole room
- A dedicated office layout generator, not just furniture swapping
- Export options or a shopping list tied to the final render
Free vs paid
| Tool | Free tier | Paid tier | Notable numbers |
|---|---|---|---|
| Spacely AI | Free plan with trial credits | Credit-based plans starting around $13/month, scaling past $100/month for higher-volume tiers | 580,000+ users |
| HomeDesigns AI | Freemium credits | Subscription plans (check current pricing on-site) | 2.6M+ users, 160+ styles |
| ArchiVinci | No free tier | Subscription plans from around $46/month (billed annually; monthly billing runs higher) | 3M+ renders, used in 165 countries |
Free-tier terms vary more than most people expect: some tools, like Spacely AI and HomeDesigns AI, let you test with free or trial credits before paying, while others, like ArchiVinci, skip the free tier entirely and start you on a paid plan. Paid pricing also spans a wider range than a single number suggests — entry-level plans can start in the low teens per month, while higher-volume or annual-vs-monthly billing can push the same tool well past $50-100. Check the current pricing page before committing, and only upgrade once a tool has already saved you real time.