
AI Interior Design for Dining Rooms: Restyle the Table, Lighting, and Layout Before You Buy
The dining room is where a single new table and light fixture can change the whole feel of a home — and also where a wrong-sized purchase is hardest to hide once six chairs are jammed against the wall. With AI for interior design, you photograph the room, pick a style, and preview a new table, chandelier, and color scheme at your real scale in seconds, the same way computer vision has reshaped modern interior design more broadly.
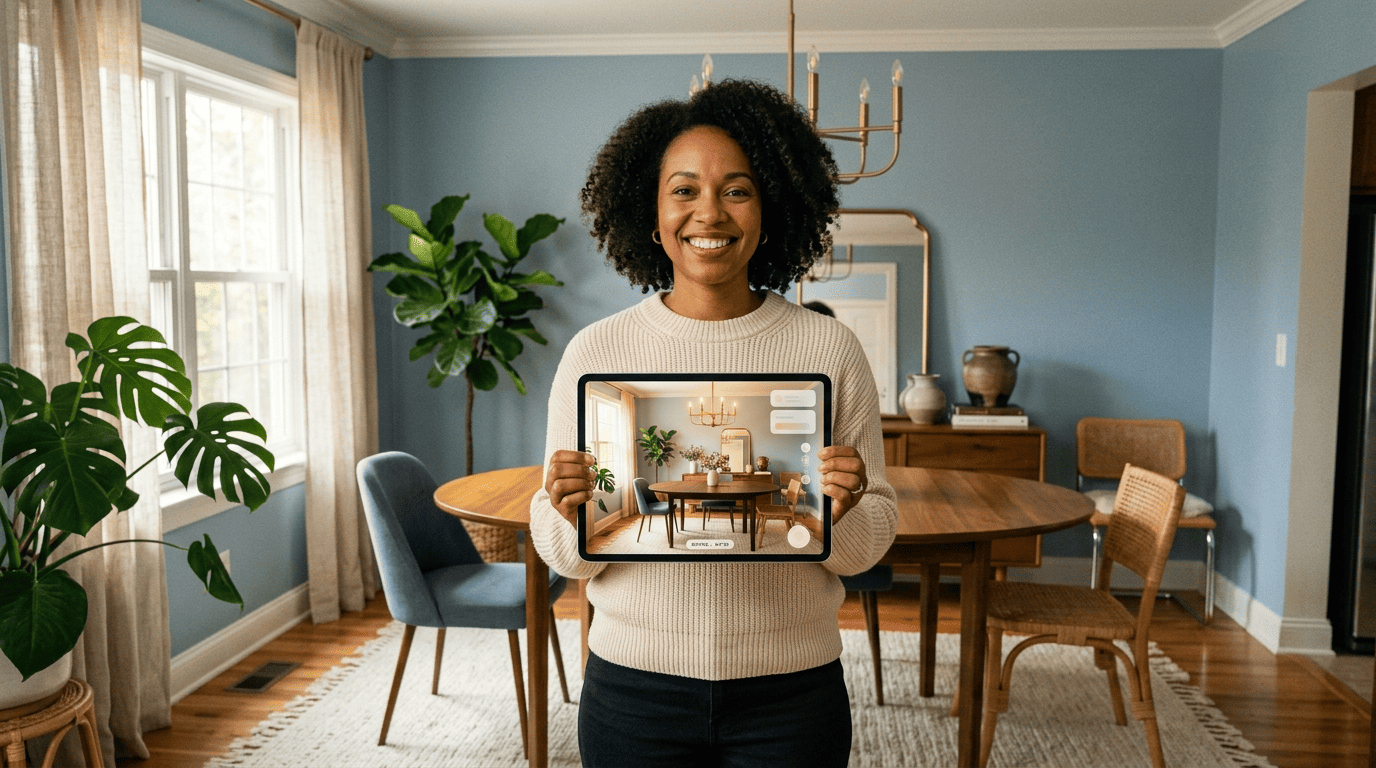
AI is genuinely good at setting a direction — style, palette, and how a table and light fixture read together — but it does not guarantee that a rectangular table will fit with room to pull out a chair, or that a chandelier will hang at the right height over the plates. This guide walks through the step-by-step redesign process, the exact dining measurements worth checking by hand, how to pick a table and chairs you won’t regret, and what the tools cost against a real furniture refresh.
What AI Can Restyle in a Dining Room
AI interior design tools work from a single photo of your existing space rather than a blank template, which is what makes the preview feel like your own room instead of a showroom catalog. According to Wikipedia’s entry on interior design, the discipline covers the planning and coordination of a space’s structure, furnishings, and finishes to make it functional and aesthetically pleasing — a definition that lines up closely with what these tools are automating for a single room.
From your actual room, not a stock photo
Structure-preserving redesign keeps the fixed parts of your room untouched and only swaps what’s meant to change:
- Stays fixed: windows, ceiling height, doorways, and the room’s overall proportions
- Gets restyled: the table, chairs, chandelier, wall color, and any accent wall
Most tools return a rendered «before/after» pair in 10 to 30 seconds, so you can compare several directions on screen before spending anything on furniture.
What it decides well — and what it doesn’t
AI is genuinely strong at the part it’s built for: suggesting a style direction, a palette, and which pieces read well together. It is not built to confirm that a new table will actually leave enough room to walk around it. Think of AI as a fast visual draft — the scale and clearances still need to be checked against real numbers, which is exactly what the measurements section below covers.
How to Redesign Your Dining Room With AI: Step by Step
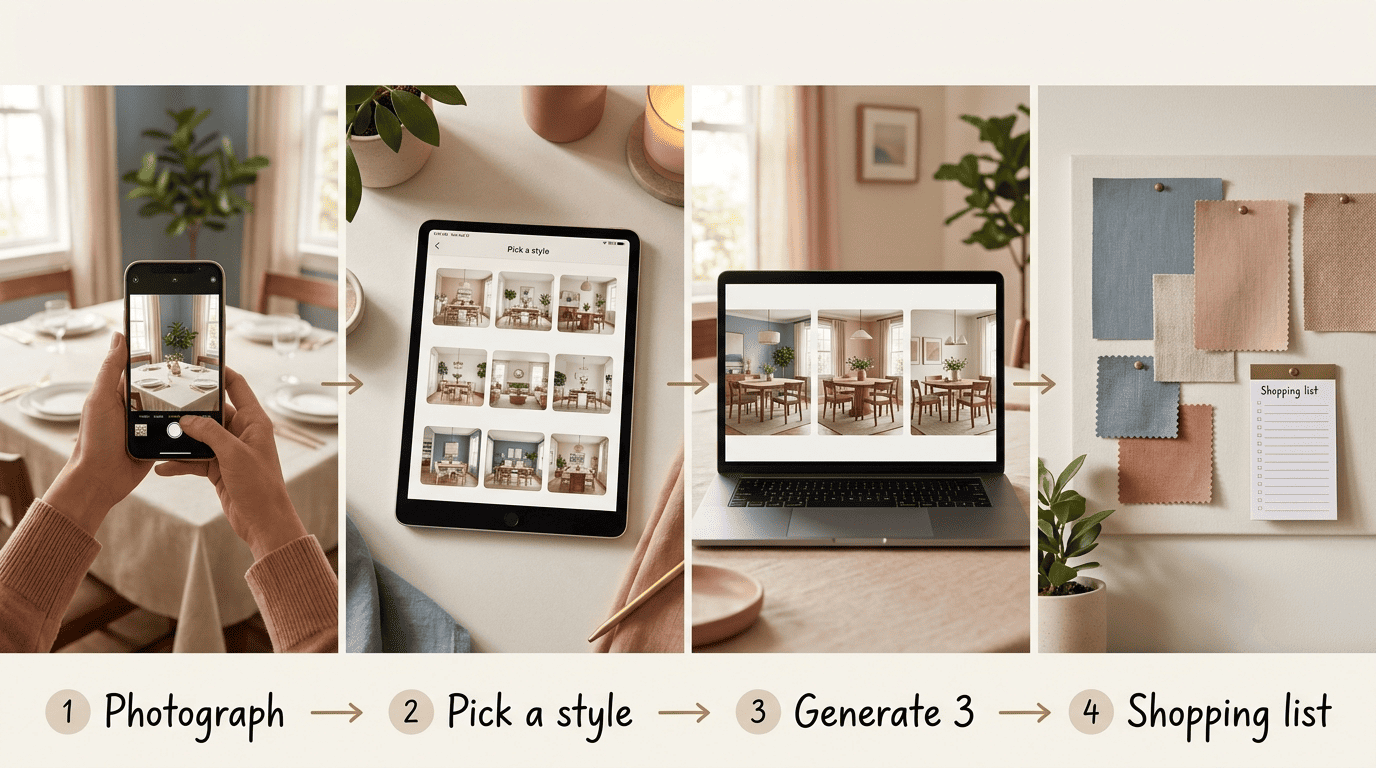
The workflow behind most AI dining room design apps is short — typically four to eight steps from upload to a shoppable list — and it’s worth doing in order so each render actually improves on the last one.
- Photograph the room and clear the table. Shoot the dining area with the table cleared or lightly styled, in daylight, angled to capture a window and two walls — the tool needs those reference points to keep the room’s proportions accurate.
- Choose a style and a direction. Pick a preset such as Modern, Scandinavian, Japandi, Farmhouse, or Mid-Century. Most platforms offer 15 to 40-plus style presets to choose from.
- Generate and compare three directions. Run three variations — one restrained, one warm, one more dramatic — then refine individual pieces like the table, chandelier, or chairs inside the render rather than starting over.
- Lock the pieces and pull a list. Once a direction feels right, save it and build a shopping list from the table, chairs, chandelier, and rug shown in the final render.
Some tools cap the resolution or file size of an uploaded photo, and the better ones let you edit a single object — swap only the chandelier, say — without regenerating the whole scene.
Getting Dining Room Measurements Right (What AI Won’t Verify)
Suitability, simplicity, and proportion.
Elsie de Wolfe
That principle from one of the founders of modern interior decorating still holds for dining rooms: a render can look suitable and still be unusable if the table doesn’t leave room to sit down. AI-generated images are drawn at a stylized scale, so the actual clearance and rug dimensions are worth confirming with a tape measure before ordering anything.
Table size and clearance
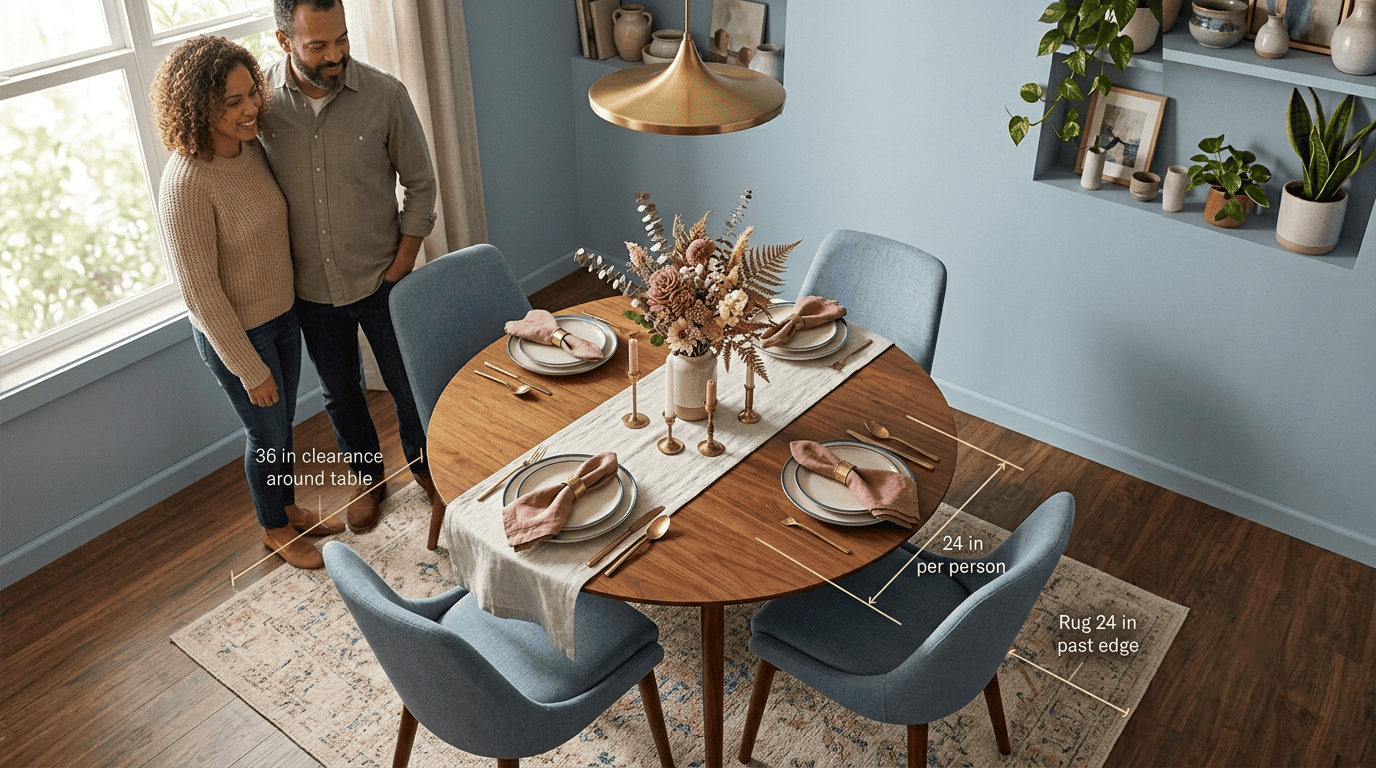
Plan on roughly 24 inches of table width per person, so a table seating six should run at least 180 cm (about 71 inches) long. Around the table, leave a minimum of 36 inches (90 cm) of clearance on all sides — enough to push back a chair and still let someone walk past. A round table close to 120 cm in diameter tends to work best in a tight nook where a rectangular shape would eat the walkway.
| Seats | Minimum table length | Minimum clearance around table |
|---|---|---|
| 4 | ~120 cm (48″) | 36″ (90 cm) on all sides |
| 6 | ~180 cm (71″) | 36″ (90 cm) on all sides |
| 8 | ~220-240 cm (87-94″) | 36″ (90 cm) on all sides |
Rug that fits the table
An area rug under a dining table should extend at least 24 inches (60 cm) beyond the table’s edge on every side. That margin keeps the back legs of a pushed-out chair resting on the rug instead of catching on the transition to bare floor — a small detail that AI renders rarely show at true scale.
Lighting: Sizing and Hanging the Chandelier
Getting the light fixture right is one of the few dining room details with a genuinely standard formula, and it’s worth applying it exactly rather than eyeballing the render.
How high and how wide
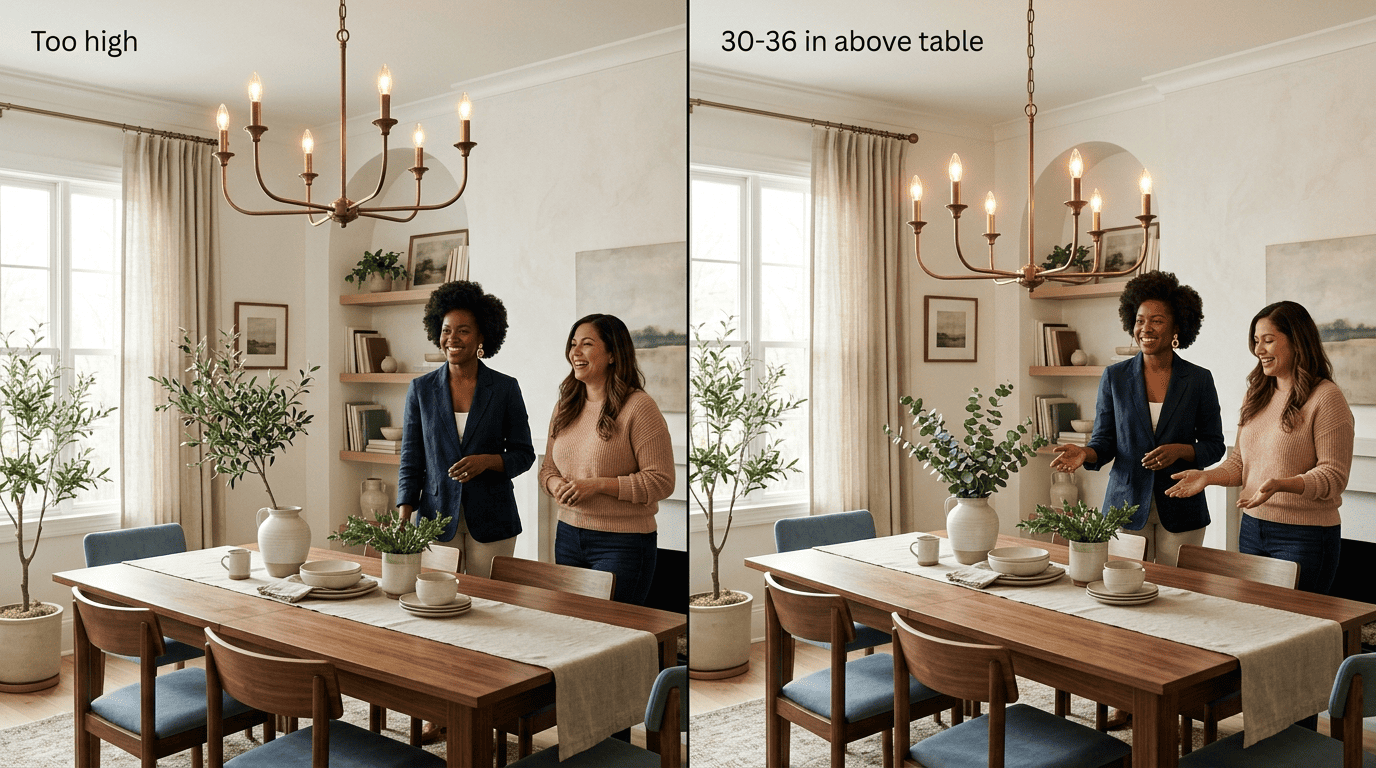
Hang the bottom of a chandelier or pendant 30 to 36 inches (75-85 cm) above the tabletop — low enough to feel intimate, high enough that no one bumps their head standing up. For the fixture’s diameter, aim for roughly half to two-thirds of the table’s width; a rectangular table generally looks better with a linear, multi-light pendant than a single round fixture.
Layering the light
A single chandelier rarely does all the work. Pairing it with recessed or accent lighting, set to a warm color temperature for evening meals, fills in the shadows a pendant alone leaves on the walls. Lighting designers generally recommend warmer color temperatures, in the 2700-3000K range, for spaces meant to feel relaxed rather than task-focused — dining rooms fall squarely in that category, versus the 4000K-plus light suited to a kitchen work zone. AI renders are useful here too, since they let you preview how a given fixture’s glow actually falls across the table before you buy it.
Choosing the Table and Chairs (The Most-Regretted Pick)
Table shape for your room
A rectangular table suits a long, narrow dining room and maximizes seating along a wall. Round or oval tables work better in tighter or more conversational spaces, since there are no corners to navigate around. A pedestal base frees up legroom for everyone at the table, and a banquette — a built-in bench along one wall — saves floor space in rooms too small for chairs on every side. Running a shape through an AI render at your room’s real proportions makes it obvious which option actually fits before you commit.
Chairs you won’t regret
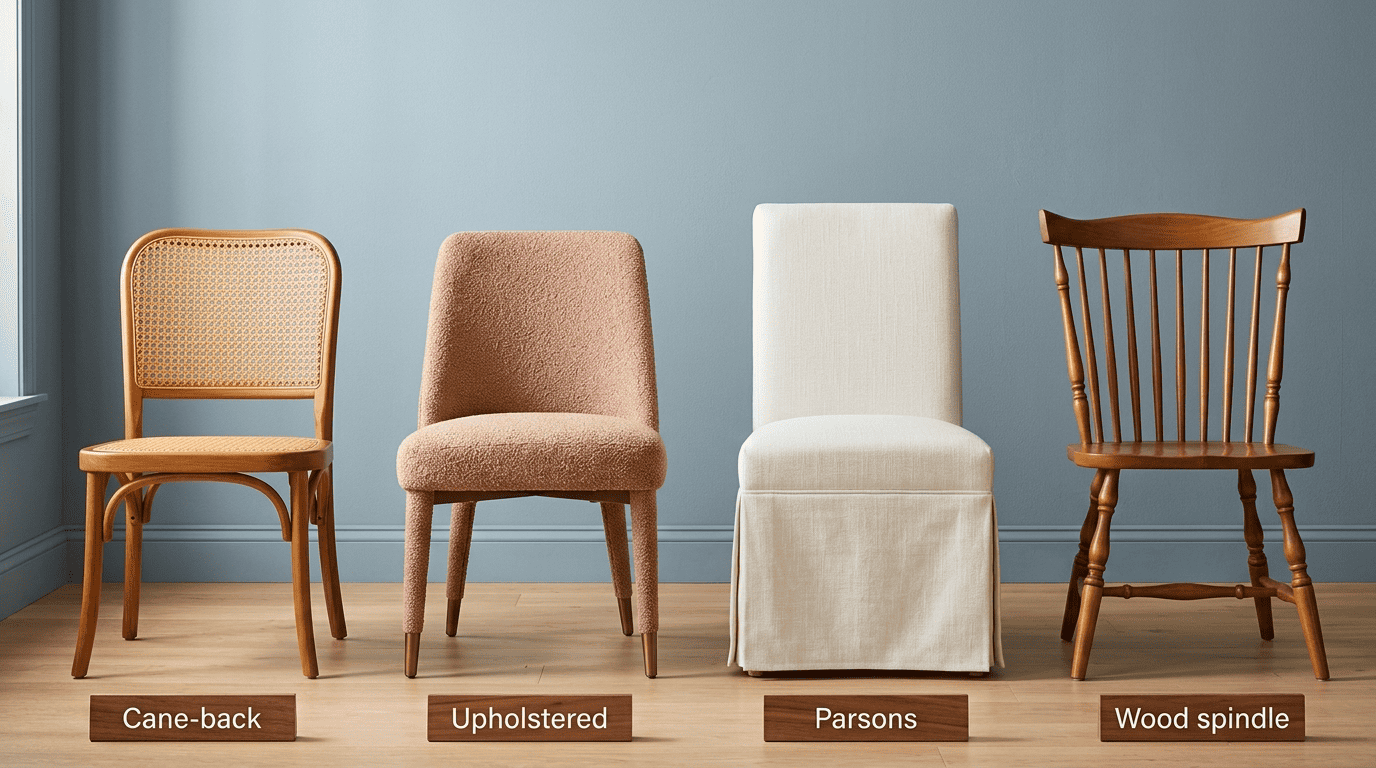
Dining chairs are consistently the most-regretted purchase in the room, more often than the table itself. Before buying, try on a few styles inside the render and see how each reads against your actual table:
- Cane-back — light, airy, works well with a farmhouse or coastal table
- Parsons — clean-lined and upholstered, a safe match for most modern tables
- Ladder-back — traditional wood construction, pairs naturally with a rectangular table
- Eames-style — molded shell seats, suited to mid-century and Scandinavian rooms
Many rooms mix end chairs (often armchairs) with plainer side chairs along the length of the table, which an AI preview can also test before you order eight of the same seat.
Small and Open-Plan Dining Rooms
Making a small dining area work
In a tight footprint, a handful of moves consistently make a small dining area read as larger than it actually is:
- A round table instead of a rectangular one, so there are no corners to navigate around
- A banquette built along one wall instead of chairs on every side
- A lighter, more reflective color palette on the walls
- One accent wall to define the zone without shrinking it visually
Running these choices through an AI render side by side makes it easier to see which combination actually opens the space up instead of just changing its color.
Zoning an open-plan space
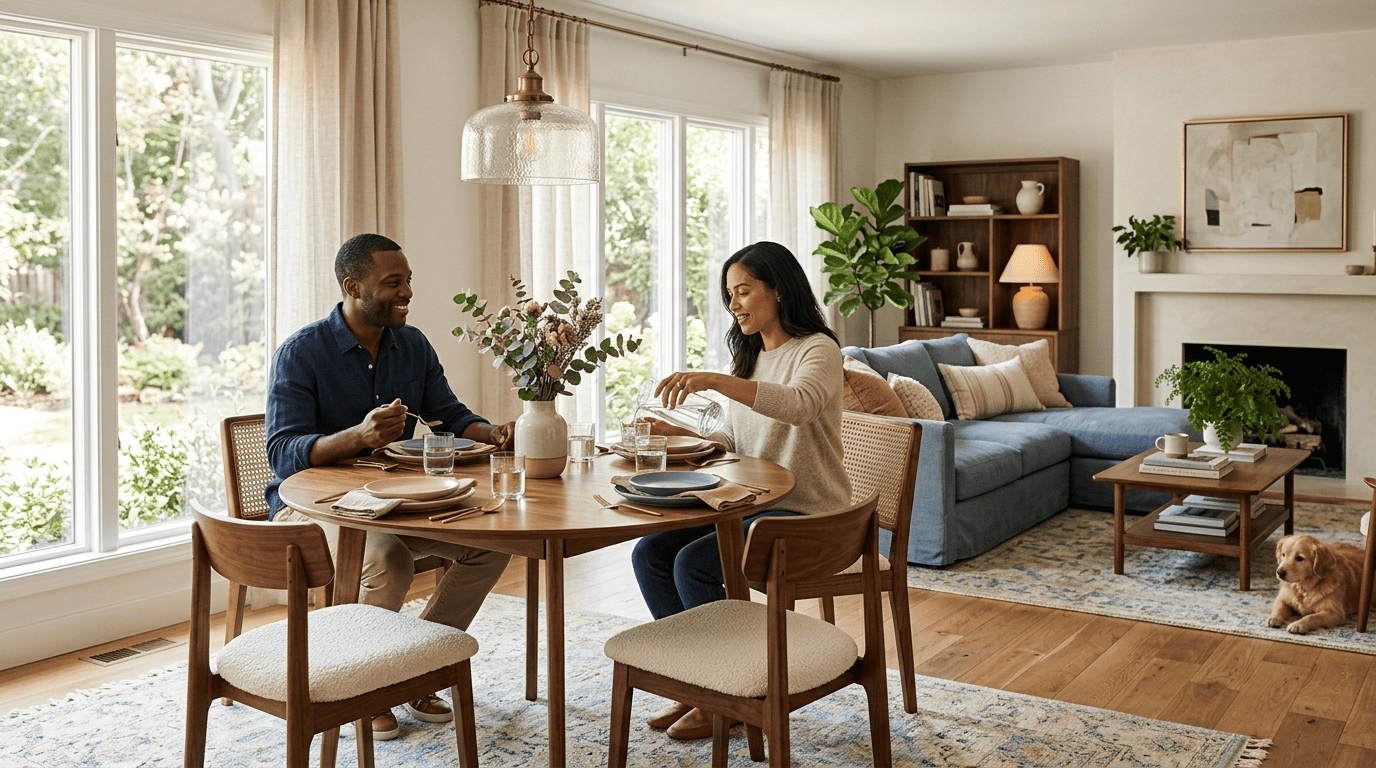
In a combined living-dining layout, a rug and a pendant fixture are usually what visually separate the dining zone from the living area, without needing a wall. AI tools are useful here for keeping the palette consistent across both zones, so the transition feels intentional rather than like two unrelated rooms pushed together.
Picking an AI Tool and What It Costs
What to look for
Before picking a tool, check it against a short list of features that actually matter for a dining room:
- Preserves your room’s real layout instead of dropping in a generic template
- Lets you edit a single piece — just the table, just the chandelier — without regenerating the whole scene
- Offers a wide range of style presets, not just three or four
- Produces photorealistic output rather than an obviously synthetic render
- Hands you a shoppable list of the pieces shown in the final render
Free vs paid and the real refresh cost
Most AI dining room design tools run on a freemium model: a handful of free renders, then a paid tier. Remodel AI gives three free renders before a $29/month Pro plan; RoomGPT gives one free render, then sells one-time credit packs starting around $9; DecorAI gives three free renders before $24/month. Interior AI skips the free tier entirely, running $39-399/month. For context, the furniture itself is the bigger expense either way — refreshing just a table and chandelier typically runs under $2,500, while a fuller dining room overhaul lands between $1,250 and $7,300.
| Tool tier | Free renders | Paid price |
|---|---|---|
| Remodel AI | 3 free | $29/month (Pro) |
| RoomGPT | 1 free | from $9 (one-time credit pack) |
| DecorAI | 3 free | $24/month |
| Interior AI | none | $39-399/month |